> ## Documentation Index
> Fetch the complete documentation index at: https://docs.release0.com/llms.txt
> Use this file to discover all available pages before exploring further.
# How to configure your Agent Settings
> Configure your agent's settings including name, URL, access controls, and other essential parameters.
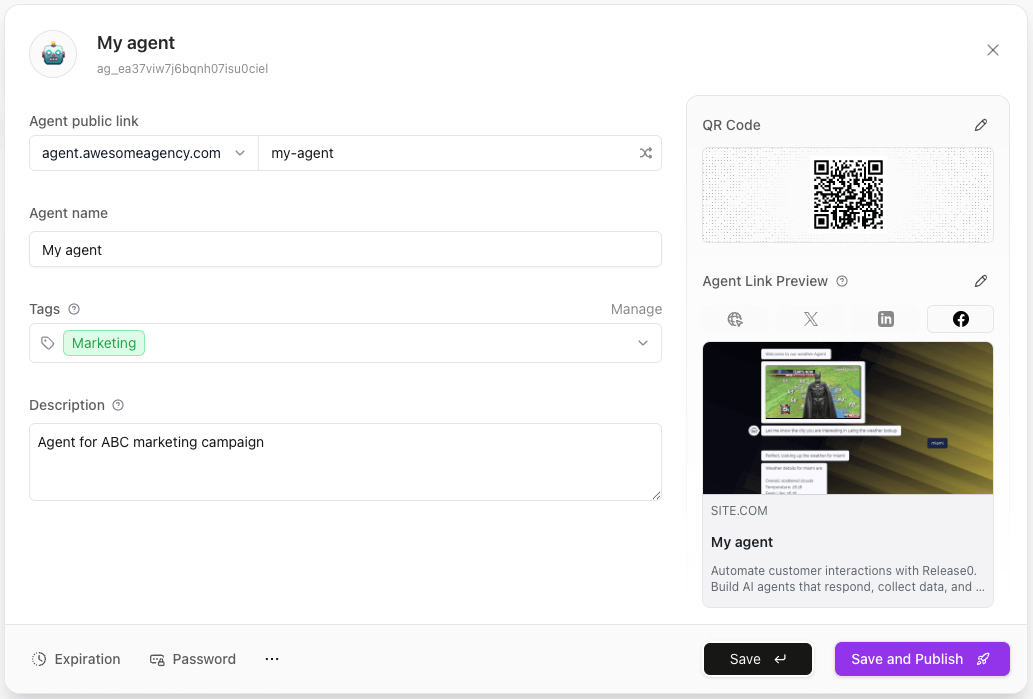
The **Agent Configuration** screen allows you to configure various aspects of your agent, including its name, URL, access settings, and more. Below are the available configuration options:
 ### How to access Agent Configuration?
There are two ways to access the Agent Configuration:
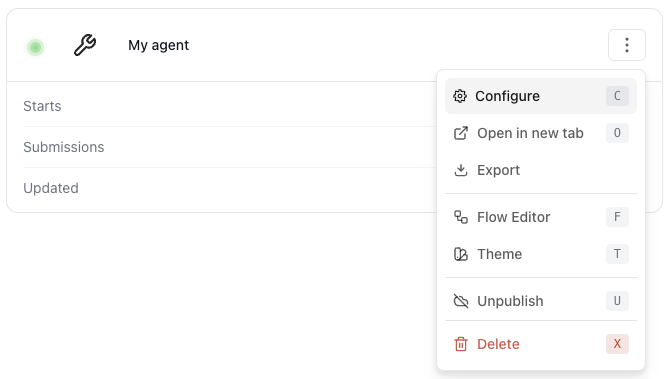
* **From the Agent List**: Click on the three dots next to the agent name and select **Configuration**.
### How to access Agent Configuration?
There are two ways to access the Agent Configuration:
* **From the Agent List**: Click on the three dots next to the agent name and select **Configuration**.
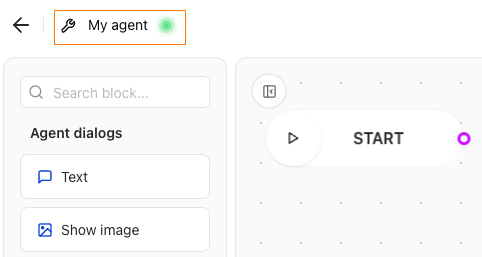
 * **From the Flow Editor**: Click on the agent name at the top left of the flow editor.
 ***
### Agent URL
Your agent’s public URL is made up of two parts:
1. **Domain** – The base domain under which your agent will be published.
2. **Agent Slug** – A customizable path segment that uniquely identifies your agent.
> Example URLs:
>
> * `https://r0.ar/your-workspace-slug/nps-agent`
> * `https://release0.ar/your-team/support-agent`
> * `https://chat.mybrand.com/support-bot`
> * `https://bot.mycompany.ai/assistant`
To generate a valid public URL, the agent must be [**published**](/editor/publish). Unpublished agents cannot be accessed via their public link.
### Custom Domains
If you're using a **custom domain**, your agent URL will be cleaner and more direct — it won't include your workspace slug.
> **Note**: The **workspace slug is only required** when using Release0-managed domains like `r0.ar` or `release0.ar`.
#### Example URLs
* **Using a custom domain (no workspace slug):**\
`https://chat.acme.com/faq-agent`\
`https://support.yourbrand.ai/sales-bot`\
`https://agents.mycompany.com/helpdesk`
* **Using a Release0 domain (with workspace slug):**\
`https://r0.ar/my-workspace/my-agent`\
`https://release0.ar/team-alpha/feedback-bot`
To use your own domain, see the [Custom Domains](/workspace/customDomains) documentation for full setup instructions.
### Agent Favicon
* The favicon is the small icon displayed in the browser tab when users interact with your agent.
* You can upload a custom favicon image or use a URL to link to an existing image.
* Recommended size: **32x32 pixels** for optimal display.
* See [Agent Favicon](/editor/agent-settings/agent-favicon) for detailed instructions on how to change the favicon.
***
### Agent Name
* The display name for your agent.
* This is visible to users and in the agent link preview.
* There are no strict limits, but short, descriptive names work best.
***
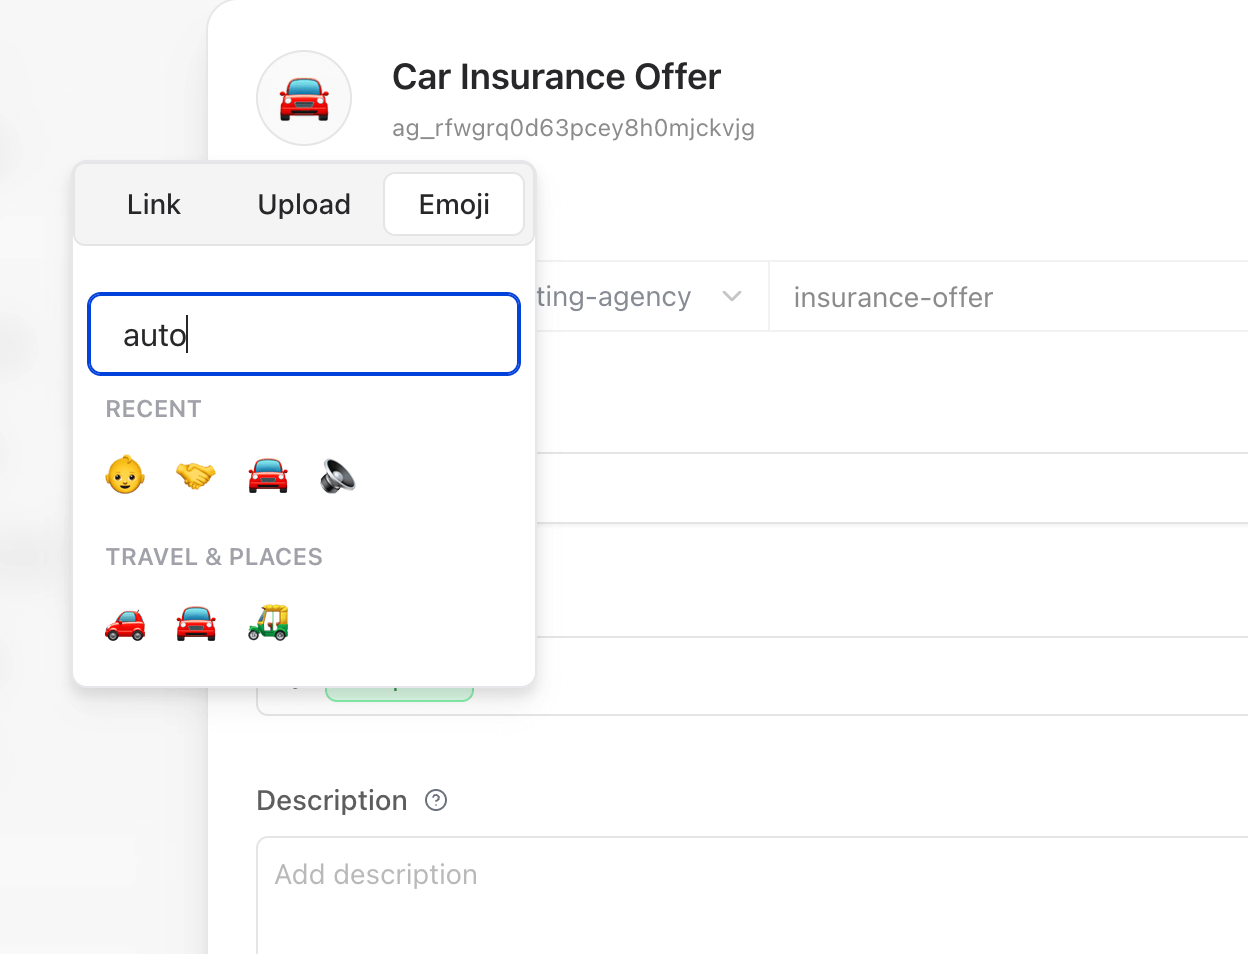
### Agent Icon
* The icon that represents your agent.
* You can choose from a set of emojis, upload a custom image, or paste a URL.
* The icon is shown in the agent list and in link previews.
* Recommended image size: **512x512px** (square).
To change it, click the current icon and select a new one from the emoji picker, or upload/link an image.
***
### Agent URL
Your agent’s public URL is made up of two parts:
1. **Domain** – The base domain under which your agent will be published.
2. **Agent Slug** – A customizable path segment that uniquely identifies your agent.
> Example URLs:
>
> * `https://r0.ar/your-workspace-slug/nps-agent`
> * `https://release0.ar/your-team/support-agent`
> * `https://chat.mybrand.com/support-bot`
> * `https://bot.mycompany.ai/assistant`
To generate a valid public URL, the agent must be [**published**](/editor/publish). Unpublished agents cannot be accessed via their public link.
### Custom Domains
If you're using a **custom domain**, your agent URL will be cleaner and more direct — it won't include your workspace slug.
> **Note**: The **workspace slug is only required** when using Release0-managed domains like `r0.ar` or `release0.ar`.
#### Example URLs
* **Using a custom domain (no workspace slug):**\
`https://chat.acme.com/faq-agent`\
`https://support.yourbrand.ai/sales-bot`\
`https://agents.mycompany.com/helpdesk`
* **Using a Release0 domain (with workspace slug):**\
`https://r0.ar/my-workspace/my-agent`\
`https://release0.ar/team-alpha/feedback-bot`
To use your own domain, see the [Custom Domains](/workspace/customDomains) documentation for full setup instructions.
### Agent Favicon
* The favicon is the small icon displayed in the browser tab when users interact with your agent.
* You can upload a custom favicon image or use a URL to link to an existing image.
* Recommended size: **32x32 pixels** for optimal display.
* See [Agent Favicon](/editor/agent-settings/agent-favicon) for detailed instructions on how to change the favicon.
***
### Agent Name
* The display name for your agent.
* This is visible to users and in the agent link preview.
* There are no strict limits, but short, descriptive names work best.
***
### Agent Icon
* The icon that represents your agent.
* You can choose from a set of emojis, upload a custom image, or paste a URL.
* The icon is shown in the agent list and in link previews.
* Recommended image size: **512x512px** (square).
To change it, click the current icon and select a new one from the emoji picker, or upload/link an image.
 ***
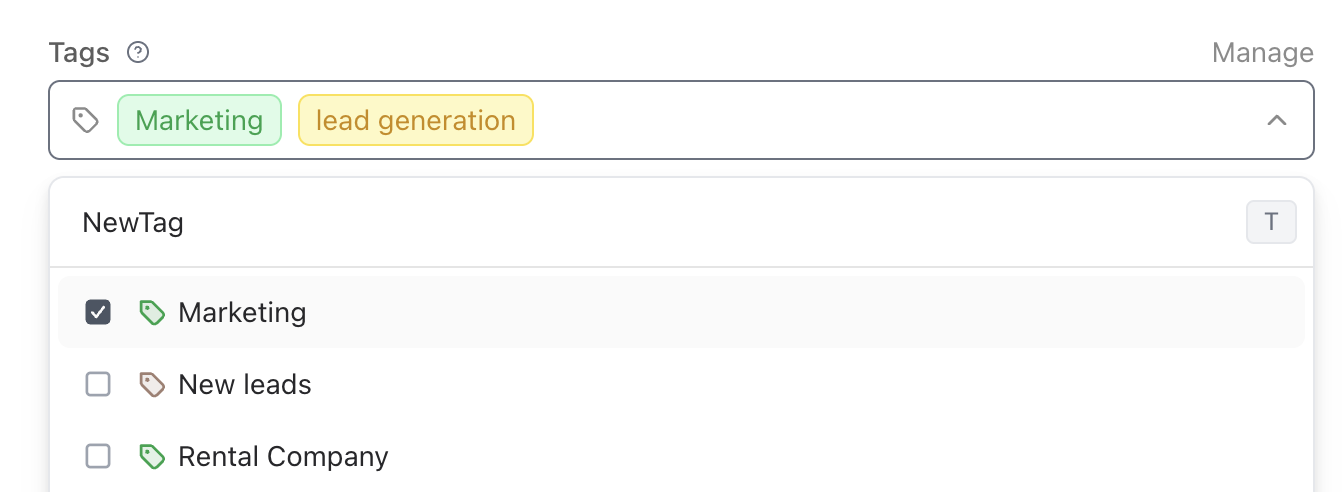
### Tags
* Add relevant tags to help categorize your agent.
* Tags are useful for organizing agents and filtering them in dashboards.
* Example: `Support`, `AI Assistant`, `Chatbot`
***
### Tags
* Add relevant tags to help categorize your agent.
* Tags are useful for organizing agents and filtering them in dashboards.
* Example: `Support`, `AI Assistant`, `Chatbot`
 For more information on how to use tags, please refer to the [Tags](/workspace/tags) documentation.
***
### Description
* A short description of your agent.
* Used in link previews, agent list, and internal dashboards.
* Example: *"A smart customer support agent for handling inquiries."*
***
### Save and Publish
* **Save**: Stores your configuration changes without making the agent public.
* **Publish**: Deploys the agent and makes it publicly accessible with the current settings.
> **Note**: Always review your settings before publishing.\
> URL changes after publishing may break existing links.
For more information on how to use tags, please refer to the [Tags](/workspace/tags) documentation.
***
### Description
* A short description of your agent.
* Used in link previews, agent list, and internal dashboards.
* Example: *"A smart customer support agent for handling inquiries."*
***
### Save and Publish
* **Save**: Stores your configuration changes without making the agent public.
* **Publish**: Deploys the agent and makes it publicly accessible with the current settings.
> **Note**: Always review your settings before publishing.\
> URL changes after publishing may break existing links.