> ## Documentation Index
> Fetch the complete documentation index at: https://docs.release0.com/llms.txt
> Use this file to discover all available pages before exploring further.
# Send Emails with your Agent
> Learn how to configure the Email element to send notifications and recap emails using SMTP providers.
The **Email** element allows you to send email notifications when specific events occur, such as a user completing your agent. You can also use it to send a recap email to the user.
## Configuring the Email element
If you're on the **Hobby plan**, you need to configure your own SMTP account to send emails. This is a precaution against spam and abuse. Several SMTP providers offer free plans with generous limits. Here are some recommended options:
| **SMTP Provider** | **Free Tier Details** |
| --------------------------------------------- | ---------------------------------------------------- |
| [**SendGrid**](https://sendgrid.com/) | Up to 100 emails/day for free. |
| [**Mailgun**](https://www.mailgun.com/) | 5,000 free emails for the first 3 months. |
| [**Amazon SES**](https://aws.amazon.com/ses/) | Free for up to 62,000 emails/month (AWS free tier). |
| [**Resend**](https://resend.com/) | Offers a free tier for testing and low-volume usage. |
If you're on a **Paid plan**, you can send emails directly from `notifications@release0.com` without any additional setup.
## Configuration Steps using Resend as SMTP providers
**Create an Account**: Sign up for a free account on [Resend](https://resend.com/).
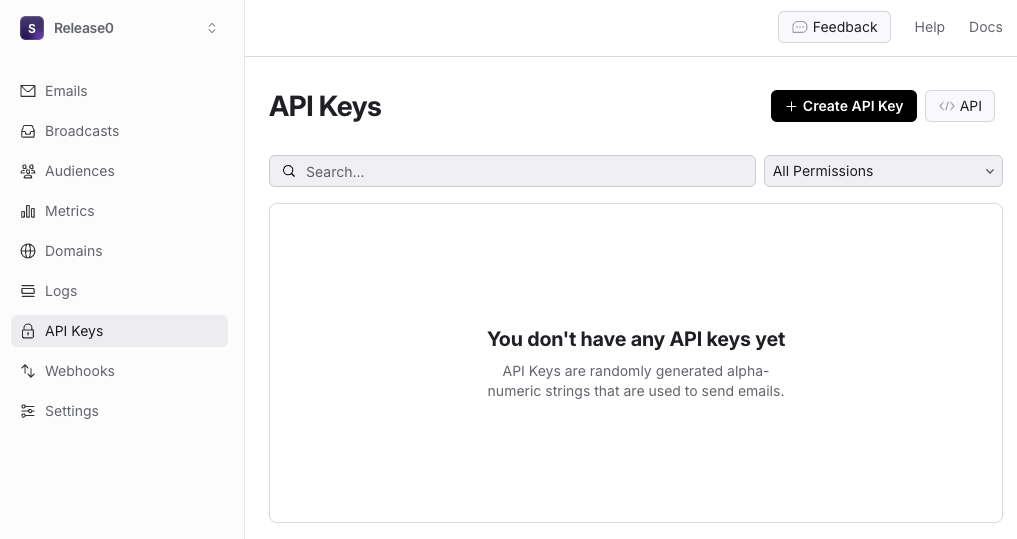
**Create an API Key**: After signing up, navigate to the **API Keys** section in your Resend dashboard and click on **Create API key**.
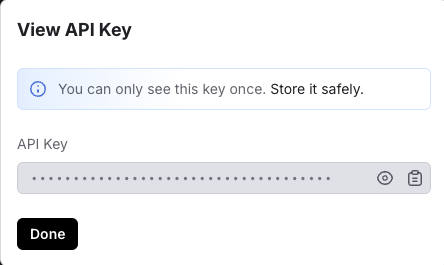
 Make sure you copy the API key, as you will need it in the next step.
 Make sure your domain is verified in your Resend account. You can do this by going to the **Domains** section in your Resend dashboard and following the instructions to verify your domain. for more information on how to verify your domain, please refer to the [Resend documentation](https://resend.com/docs/dashboard/domains/introduction).
Now head back to your Release0 agent and open the **Email element**. In the element configuration, click on **Add SMTP Account** in the **SMTP Settings** and fill in the Resend provider information:
Make sure your domain is verified in your Resend account. You can do this by going to the **Domains** section in your Resend dashboard and following the instructions to verify your domain. for more information on how to verify your domain, please refer to the [Resend documentation](https://resend.com/docs/dashboard/domains/introduction).
Now head back to your Release0 agent and open the **Email element**. In the element configuration, click on **Add SMTP Account** in the **SMTP Settings** and fill in the Resend provider information:
 * **From email**: The email address you want to use as the sender. This should be a verified email address in your Resend account.
* **From name**: The name you want to appear as the sender. This can be your company name or any other name you prefer.
* **SMTP Host**: `smtp.resend.com`
* **SMTP Username**: Type in *Resend*
* **SMTP Password**: Your Resend API key.
* **SMTP Port**: `465` (For encrypted/TLS connections use 2465, 587 or 2587)
### Resend SMTP Configuration Summary
| **Type** | **Port** | **Security** |
| -------- | ------------- | ------------------------------------------------------------------------- |
| SMTPS | 465, 2465 | Implicit SSL/TLS (Immediately connects via SSL/TLS) |
| STARTTLS | 25, 587, 2587 | Explicit SSL/TLS (First connects via plaintext, then upgrades to SSL/TLS) |
> ⚠️ **Important:**
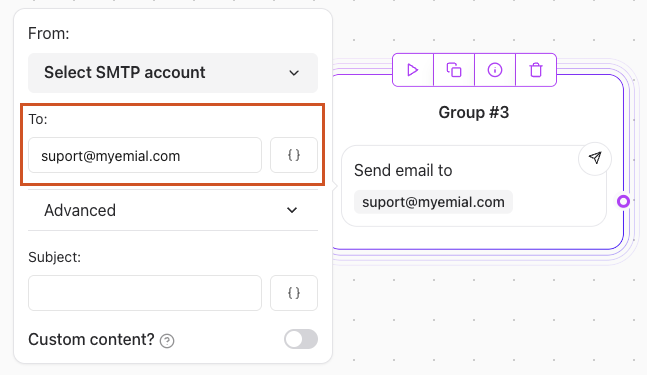
> Make sure you fill in the **From** field for the destination email **before** configuring the SMTP settings. This is the email address where you want to receive notifications. You can use a variable to dynamically set the destination email based on user input.
> If this is not configured before setting up the SMTP settings, the setup process will fail since the test connection email will not be triggered.
* **From email**: The email address you want to use as the sender. This should be a verified email address in your Resend account.
* **From name**: The name you want to appear as the sender. This can be your company name or any other name you prefer.
* **SMTP Host**: `smtp.resend.com`
* **SMTP Username**: Type in *Resend*
* **SMTP Password**: Your Resend API key.
* **SMTP Port**: `465` (For encrypted/TLS connections use 2465, 587 or 2587)
### Resend SMTP Configuration Summary
| **Type** | **Port** | **Security** |
| -------- | ------------- | ------------------------------------------------------------------------- |
| SMTPS | 465, 2465 | Implicit SSL/TLS (Immediately connects via SSL/TLS) |
| STARTTLS | 25, 587, 2587 | Explicit SSL/TLS (First connects via plaintext, then upgrades to SSL/TLS) |
> ⚠️ **Important:**
> Make sure you fill in the **From** field for the destination email **before** configuring the SMTP settings. This is the email address where you want to receive notifications. You can use a variable to dynamically set the destination email based on user input.
> If this is not configured before setting up the SMTP settings, the setup process will fail since the test connection email will not be triggered.
 When you are done, click on **Create** to save your SMTP settings.
## Default Email Content
By default, the email sent contains a summary of the user's responses. For example:
> **Subject**: New Lead Notification\
> **Body**:\
> Your agent has collected a **new lead**! 🎉
>
> **Name**: Jhon\
> **Email**: [email@Release0.com](mailto:email@Release0.com)\
> **Company**: Release0\
> **Question**: I'm interested in your services. Can I have more info?
>
> [Check Results](#)
You can customize this content to include your own text or HTML for a fully branded email experience.
## Adding Attachments
You can include attachments in your email using the **Attachments** option. Ensure the attachments are linked to a **File Upload input element** in your flow.
## Troubleshooting
If you're not receiving the expected emails:
1. **Check the logs** in your dashboard for errors.
2. Verify that your SMTP credentials are configured correctly
3. Ensure the recipient email address is valid.
4. Make sure you fill in the **From:** of the destiantion email **before** configuring the SMTP settings. Otherwise, you will receive an error message '*Invalid Configuration. We couldn't send the latest email with your configuration*'.
5. Make sure you test your Email element **once you publish your agent**, Otherwise you will receive the error: *Emails are not sent in preview mode*
6. Make sure you have added your domain to the **verified domains** in your SMTP provider. Otherwise, you will receive the error: *Invalid configuration*.
When you are done, click on **Create** to save your SMTP settings.
## Default Email Content
By default, the email sent contains a summary of the user's responses. For example:
> **Subject**: New Lead Notification\
> **Body**:\
> Your agent has collected a **new lead**! 🎉
>
> **Name**: Jhon\
> **Email**: [email@Release0.com](mailto:email@Release0.com)\
> **Company**: Release0\
> **Question**: I'm interested in your services. Can I have more info?
>
> [Check Results](#)
You can customize this content to include your own text or HTML for a fully branded email experience.
## Adding Attachments
You can include attachments in your email using the **Attachments** option. Ensure the attachments are linked to a **File Upload input element** in your flow.
## Troubleshooting
If you're not receiving the expected emails:
1. **Check the logs** in your dashboard for errors.
2. Verify that your SMTP credentials are configured correctly
3. Ensure the recipient email address is valid.
4. Make sure you fill in the **From:** of the destiantion email **before** configuring the SMTP settings. Otherwise, you will receive an error message '*Invalid Configuration. We couldn't send the latest email with your configuration*'.
5. Make sure you test your Email element **once you publish your agent**, Otherwise you will receive the error: *Emails are not sent in preview mode*
6. Make sure you have added your domain to the **verified domains** in your SMTP provider. Otherwise, you will receive the error: *Invalid configuration*.