Create a New Agent
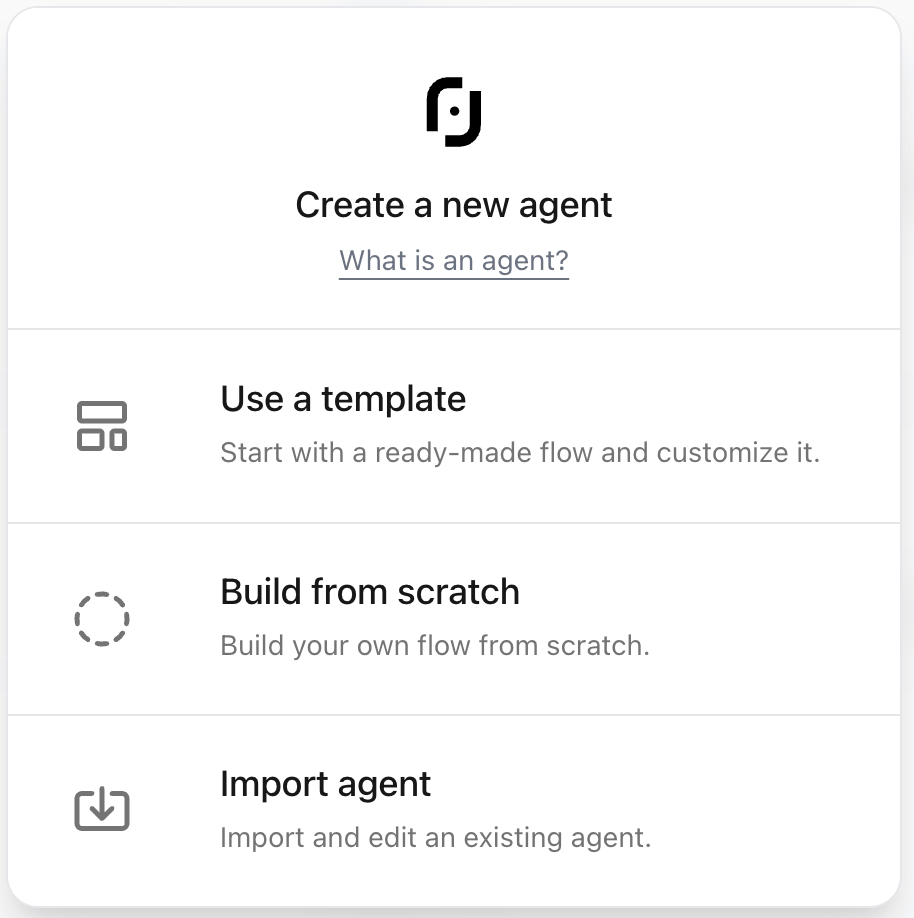
Log in to your Release0 account. Click on the “Create Agent” button in the dashboard. You will be working within your default workspace There are 3 ways to create an agent:- Use a template: Choose from a variety of pre-built templates to kickstart your agent.
- Build from scratch: Start with a blank canvas and build your agent from the ground up.
- Import Agent: Import an existing agent from another workspace or account.
1. Select “Build from scratch”
When you select the Build from scratch option, you’ll be taken to the flow editor where you can start building your agent from a blank canvas. You can add elements, customize the flow, and configure settings as needed.
- Text: Send a message to the user.
- Input: Collect user input (text, number, email, etc.).
- Logic: Create conditions and branches in your flow.
- Integrations: Connect to third-party services like Google Sheets, Zapier, Stripe, etc.
- AI: Integrate advanced AI models like OpenAI, Claude, Mistral, Groq, etc.
2. Add a Text element
To start, drag and drop a Text element from the elements panel to the flow editor. This element will be the first message your agent sends to the user.3. Configure the Text element
Click on the Text element you just added to open its configuration panel. Here, you can customize the message that will be sent to the user. For example, you can set the message to “Hello! How can I help you today?“.
4. Add a User Input element
User input elements are essential for collecting information from users. After the text element, you can add an input element to ask the user for their name or any other information you need. Next, drag and drop an Text Input element from the elements panel to the flow editor. This element will allow the user to enter their name.5. Configure the Input element
Click on the Text Input element you just added to open its configuration panel. Here, you can customize the input and assign a variable such as ‘name’ and set a label for the input.
6. Read the User Input
You can use the variable you assigned to the input element to read the user’s response. For example, you can use the variablename to greet the user by their name in the next text element.
7. Test Your Agent
Once you have added the text and input elements, you can test your agent by clicking on the Play button in the top right corner of the flow editor. This will open a preview of your agent where you can interact with it and see how it responds to user input.
Next Steps
This is just a simple example of how to create an agent using Release0. You can add more elements, customize the flow, and integrate with third-party services to create a more complex agent.- For more information on how to use the different elements, check out the elements documentation.
- To learn more about variables and how to use them, check out the Variables documentation.
- To learn more about how to integrate with third-party services, check out the Integrations documentation.
- To learn more about how to customize your agent, check out the Customization documentation.
- To learn more about how to deploy your agent, check out the Agent Configuration.