Note: Any changes you make to the Agent will not be visible to users unless you click the Publish button again.
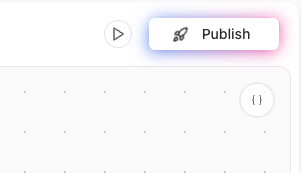
Publishing Your Agent
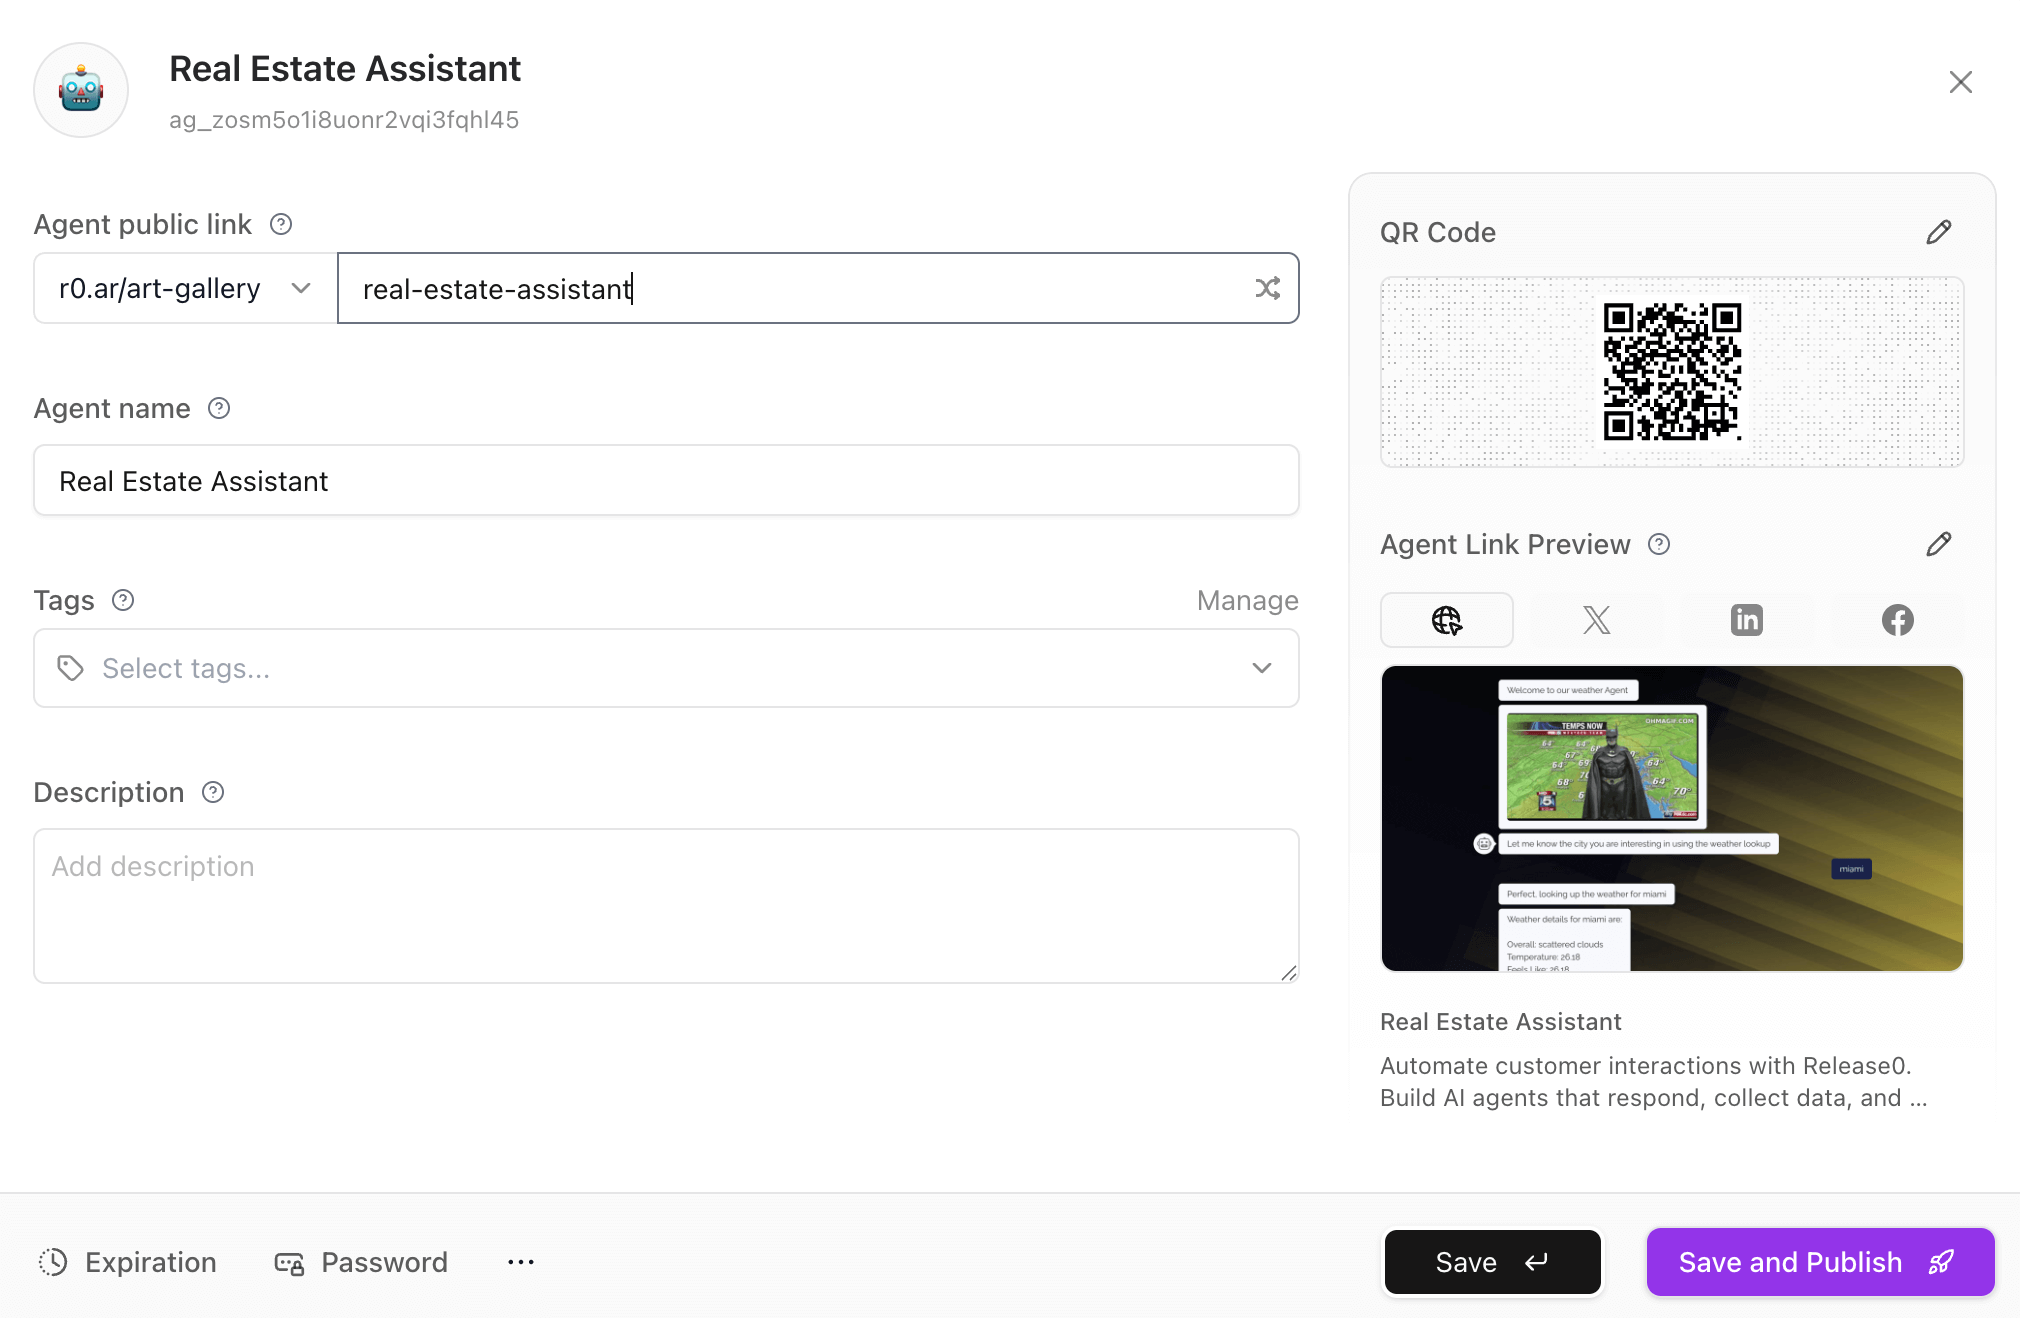
Once you click on the Publish button, you will be directed to the agent configuration dialog. Here, you can set the following options regarding your agents publication:- Agent public link. Here you can select the public domain and define the unique URL for your agent. You can use the default domain or connect your own. Plesae see the Custom Domain documentation for more details.
- Agent path. This is the unique path for your agent. It will be used in the public URL of your agent. For example, if you set the path to
my-agent, the public URL will behttps://r0.ar/my-agent. Please make sure not to use spaces or special characters in the path exceprt for dashes. - Agent name. This is the name of your agent. It will be used in the public web of your agent. For example you can set the name to
My Agent, and it will be displayed asMy Agentin the public web of your agent.
Note: There are additional settings you can configure in the Agent Configuration dialog. For more information on these settings, please refer to the Agent Configuration documentation.
If you are bringing your own custom domain, your agent link do not use a workspace slug. The slug is only used for the domains provided by Release0 (e.g. release0.ar/your-slug/agent).
After making the necessary changes to your agent settings, you can click on Save and Publish, and your Agent will be published and available to the public. You will see a confirmation message indicating that your Agent has been successfully published.