
Creating a Sticky Note
To create a Sticky Note, follow these steps:- In the flow editor, click on the Sticky Note icon in the top right corner below variables icon. This will place a new sticky note in the center of your screen.
- Right click on the sticky note to edit its content. You can add text, bullet points, hyperlinks, and more to your sticky note.
- Click outside the sticky note to save your changes.
Editing a Sticky Note
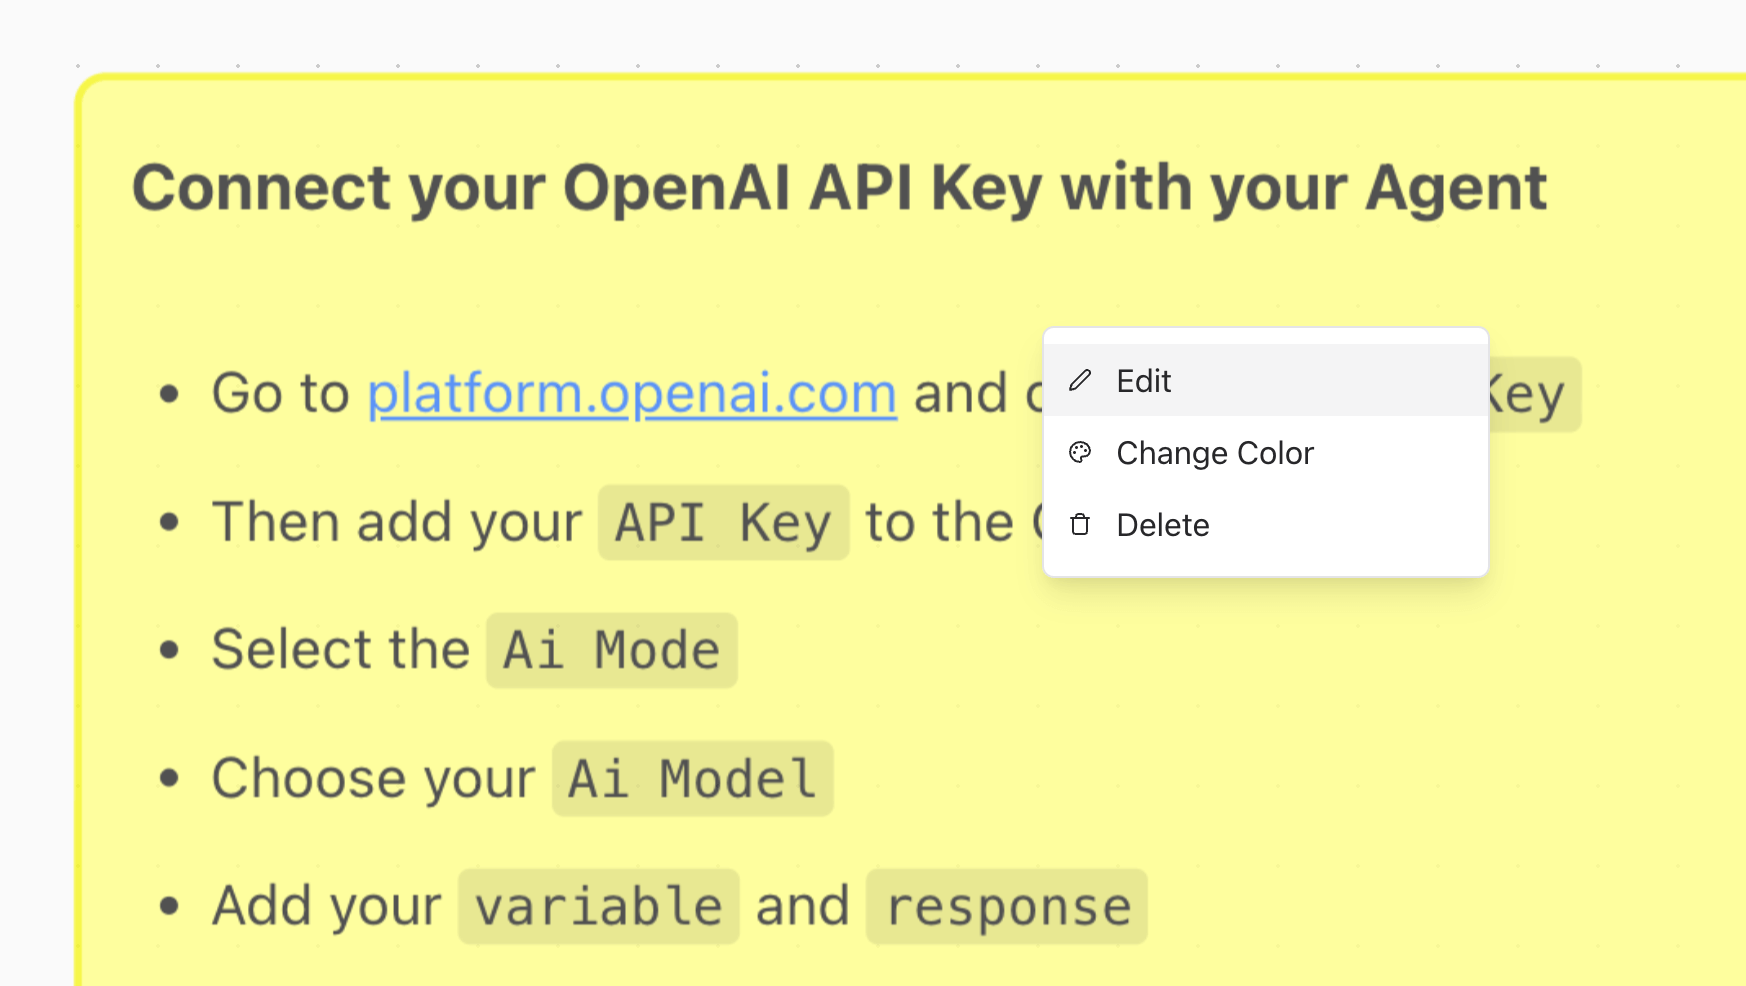
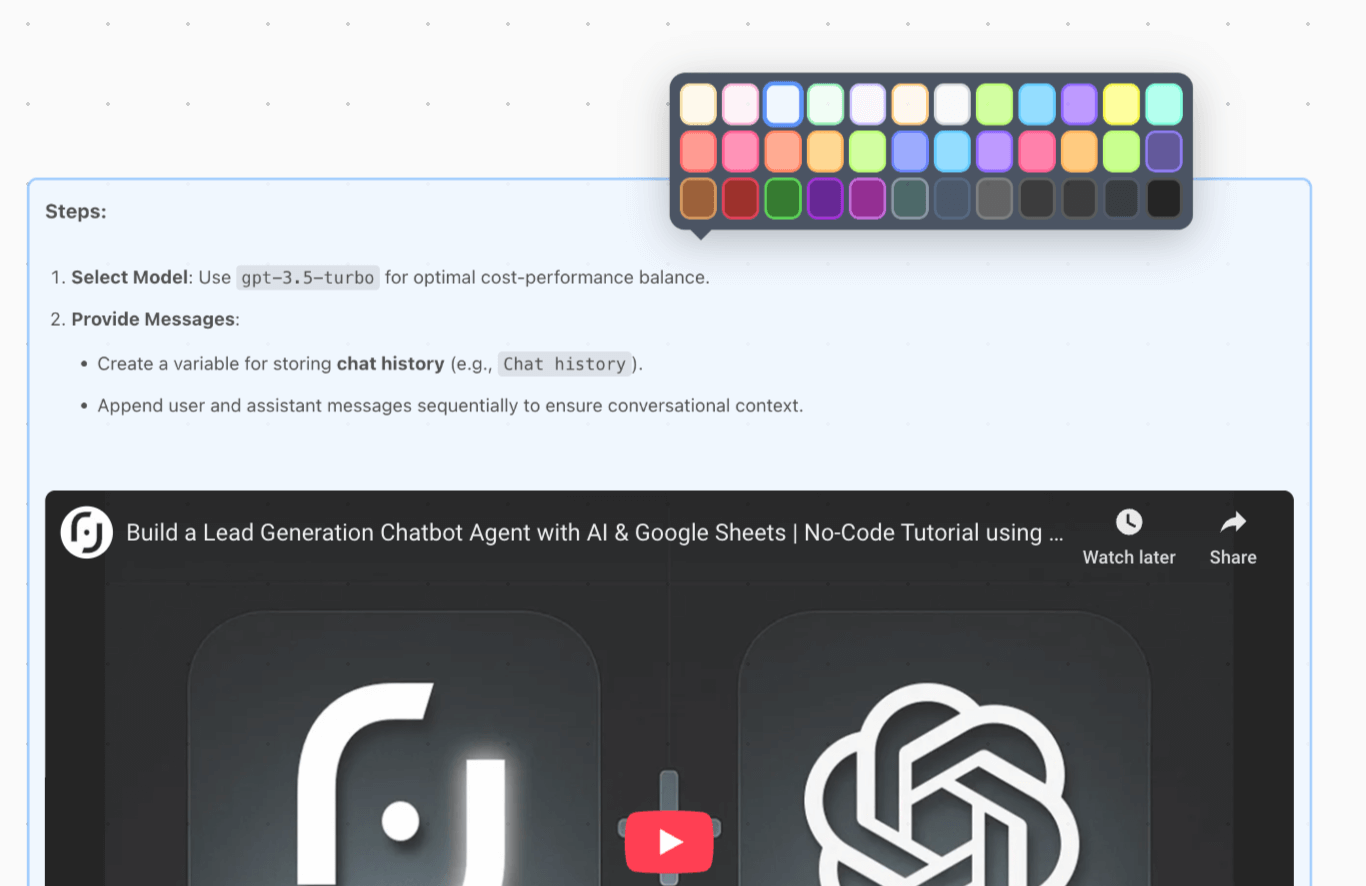
- Change Color: You can change the color of the sticky note to categorize or prioritize different notes. Click on the color option and select your desired color.
- Delete: If you no longer need a sticky note, you can delete it by selecting the delete option from the menu.
- Edit: Click on the edit option to modify the content of the sticky note. Click outside the sticky note to save your changes.
Moving a Sticky Note
You can move a Sticky Note by clicking and dragging it to your desired location within the flow editor. This allows you to organize your notes in a way that makes sense for your workflow. You can:- Drag a Sticky Note anywhere on the flow editor canvas.
- Drag Sticky Notes behind elements/groups. You can use this to visually group elements.
- Resize Sticky Notes by hovering over the edge of the note and dragging to resize.
- Change the color: Right-click on the note you want to edit select Change Color to open the color selector.
Writing in Markdown
Sticky Notes support Markdown formatting, allowing you to create rich text notes. You can use the following Markdown syntax:- Bold:
**text** - Italic:
*text* - Link:
[Link](http://example.com) - Image:
 - Embed a Youtube Video:
@[youtube](S6hfIxkdlRc) - Bullet Points:
- Item 1,- Item 2 - Numbered List:
1. Item 1,2. Item 2 - Headings:
# Heading 1,## Heading 2,### Heading 3 - Highlight:
Highlighted Text